OpenStackハンズオン 基礎編

Presenter Notes
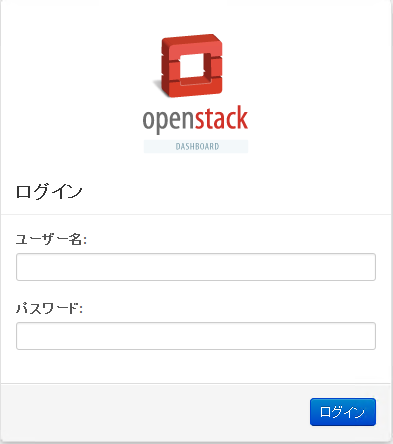
環境の確認
- 各自、ログイン情報を使って、Horizonへログインできるか確認してください。
- http://192.168.253.1/horizon/
Presenter Notes
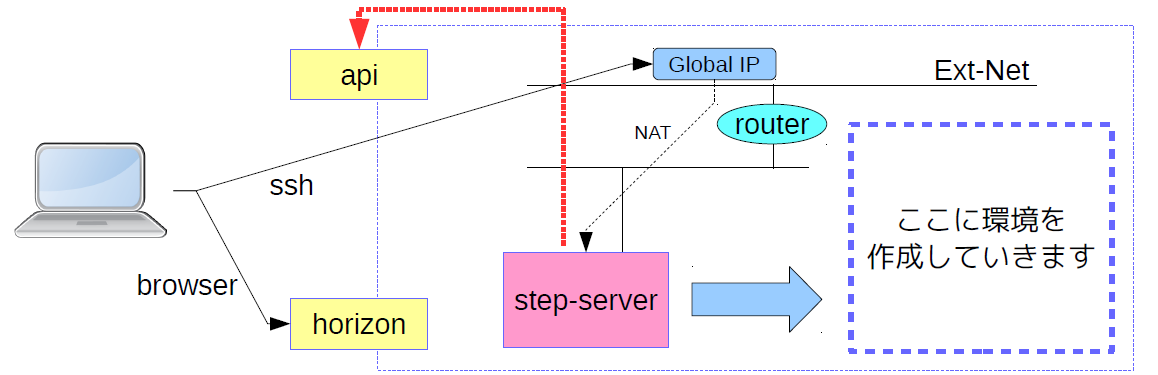
踏み台サーバーの役割
- 今回の環境は、まずOpenStack上に踏み台サーバーを構築し、ここにログインしてその後の作業を行っていきます。
Presenter Notes
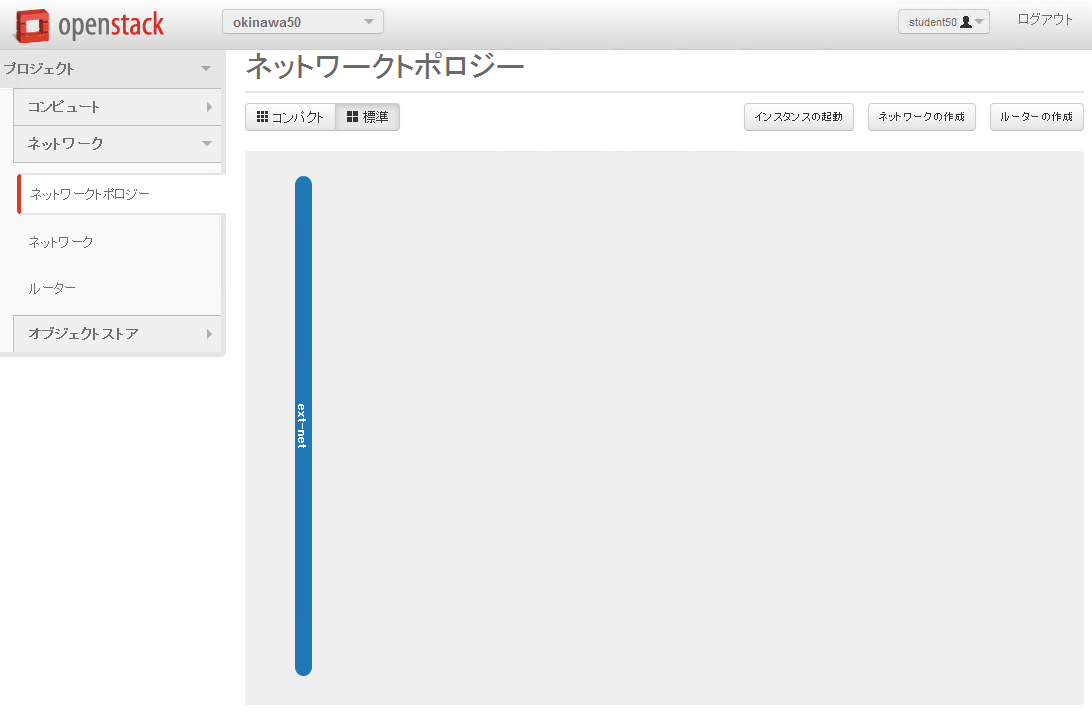
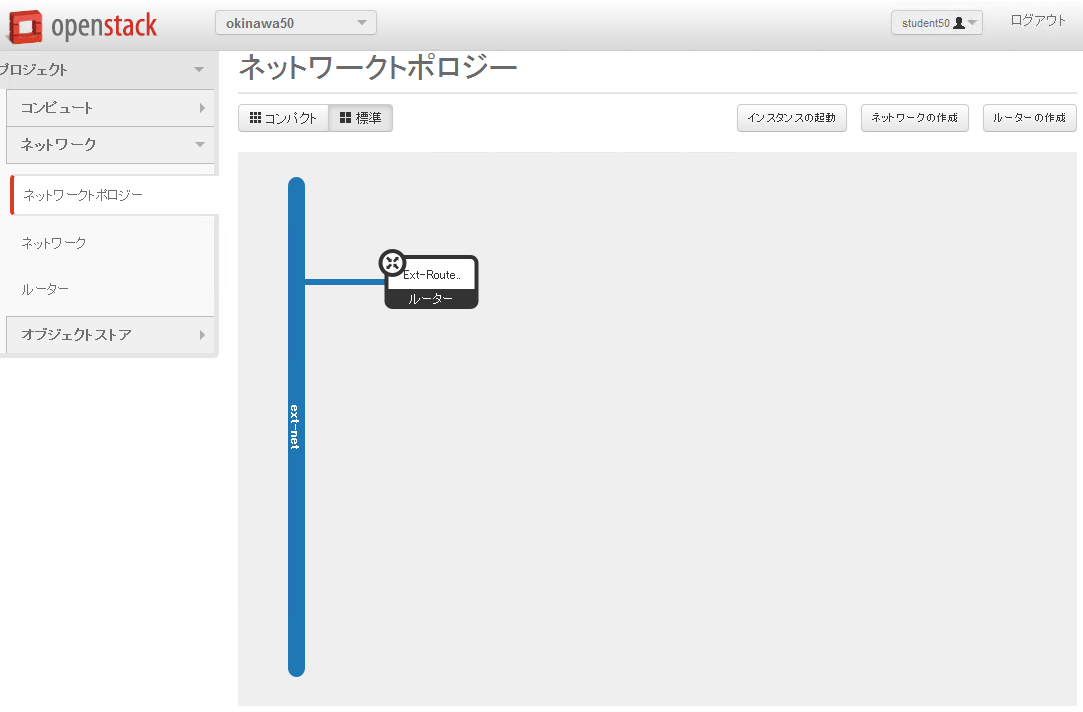
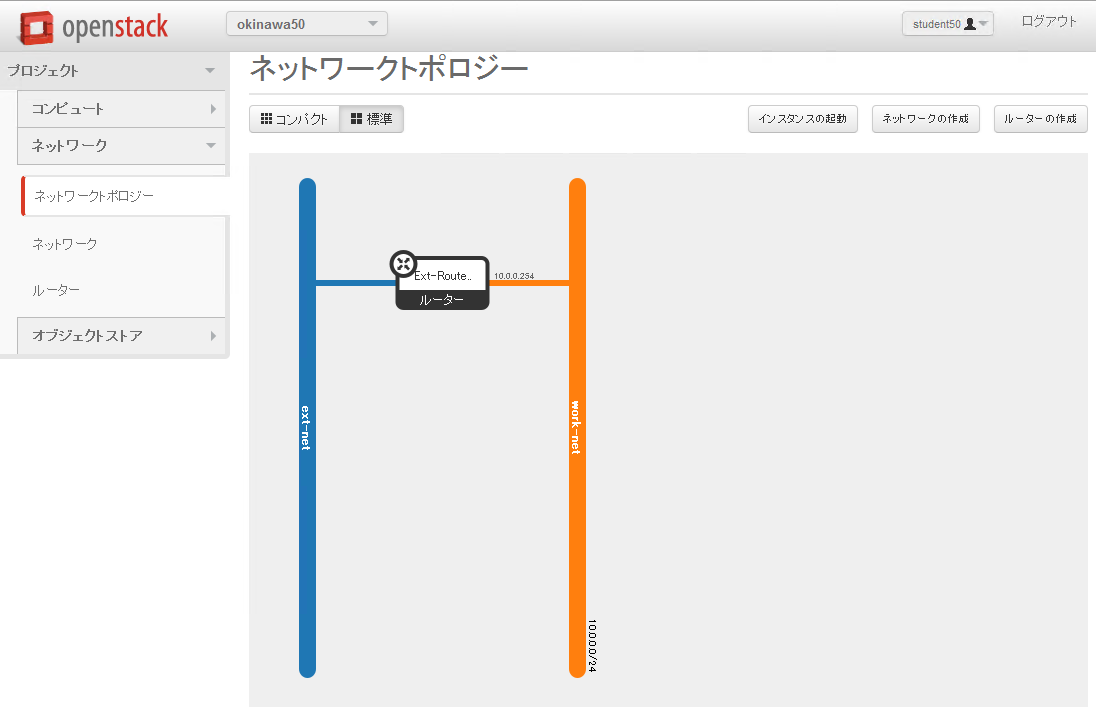
仮想ルーターの作成
1 初期状態のネットワークトポロジー
Presenter Notes
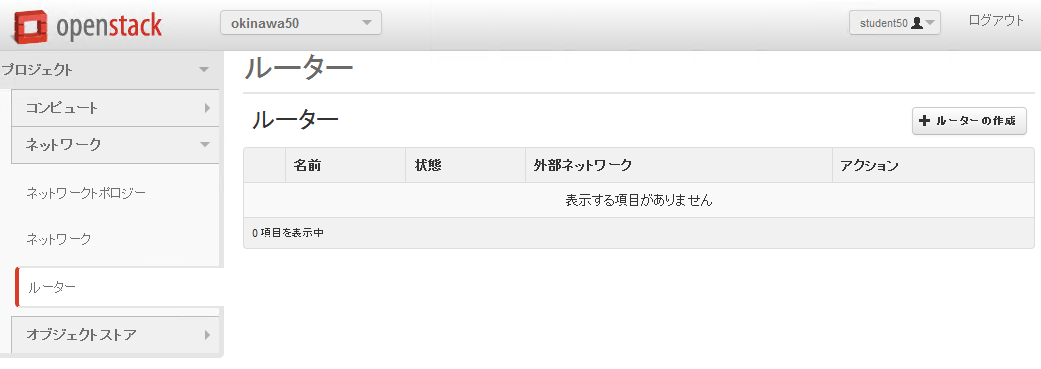
仮想ルーターの作成2
2 「ルーターの作成」を選択
Presenter Notes
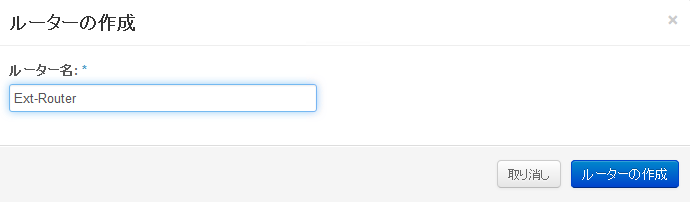
仮想ルーターの作成
3 仮想ルーター: Ext-Router を作成
Presenter Notes
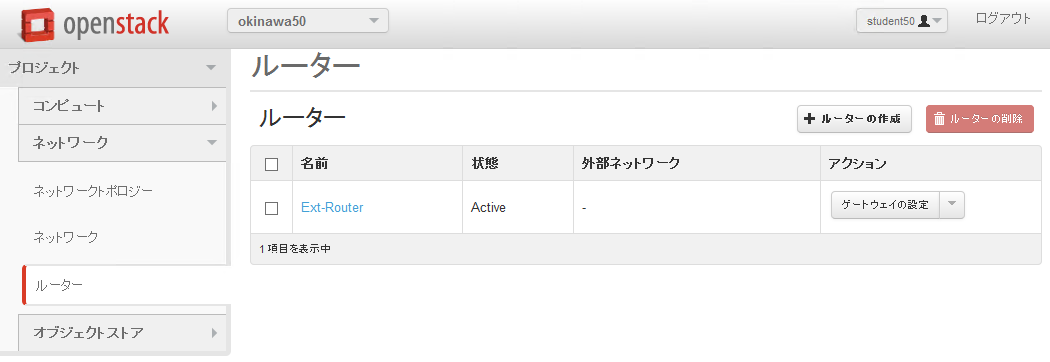
仮想ルーターの作成
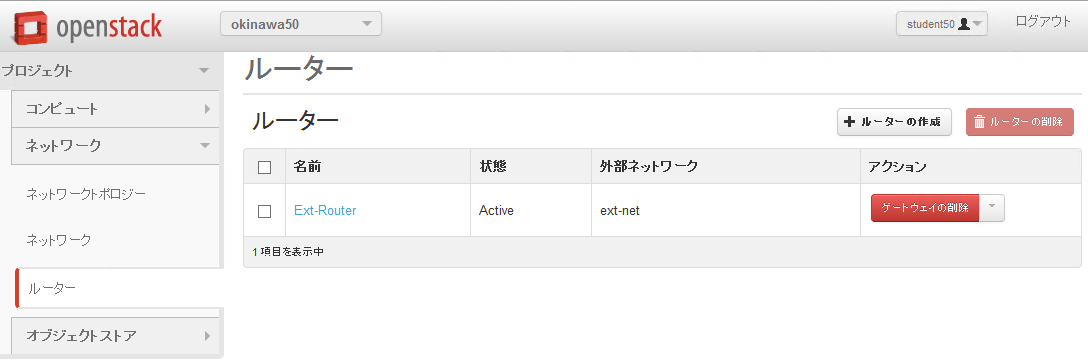
4 作成された Ext-Router の 「ゲートウェイの設定」 を行う
Presenter Notes
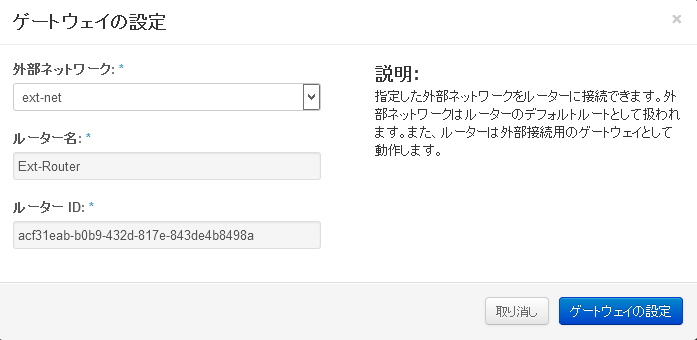
仮想ルーターの作成
5 外部ネットワーク Ext-Net を選択する。
Presenter Notes
仮想ルーターの作成
6 ルーター作成後ののネットワークトポロジー
Presenter Notes
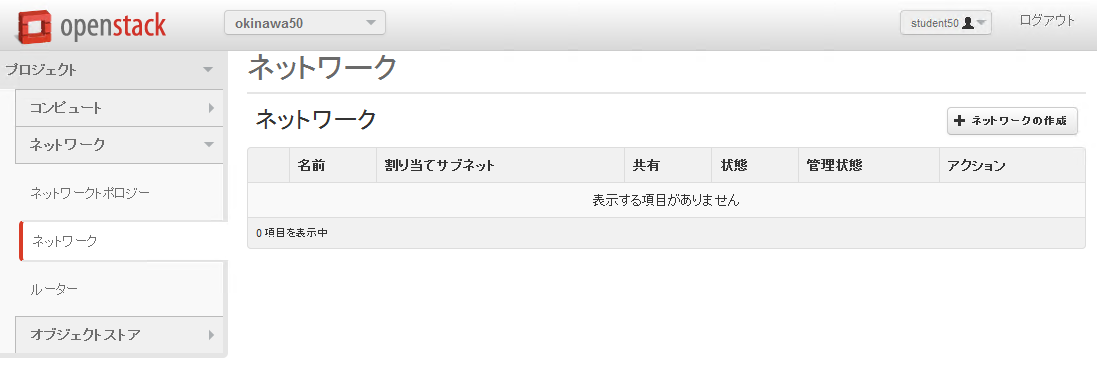
仮想ネットワークの作成
1 「ネットワークの作成」を選択
Presenter Notes
仮想ネットワークの作成
2 ネットワーク名: work-net

Presenter Notes
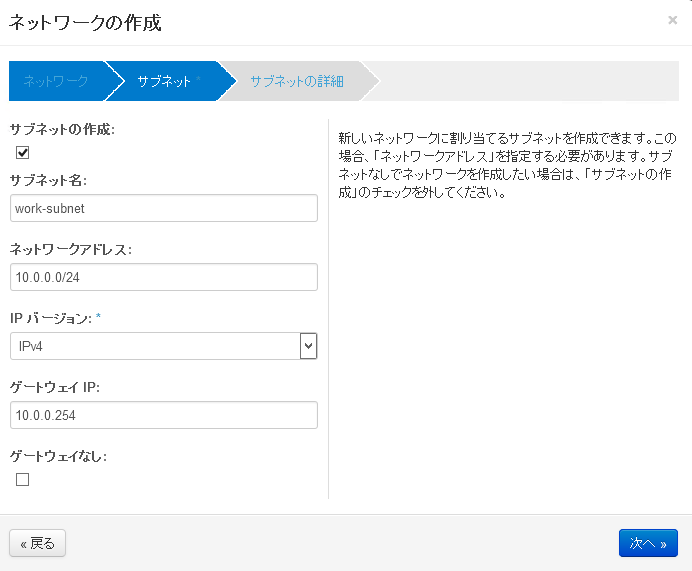
仮想ネットワークの作成
3 サブネット名: work-subnet ネットワークアドレス: 10.0.0.0/24 ゲートウェイIP: 10.0.0.254
Presenter Notes
仮想ネットワークの作成
4 DNSサーバー: 8.8.8.8 & 8.8.4.4

Presenter Notes
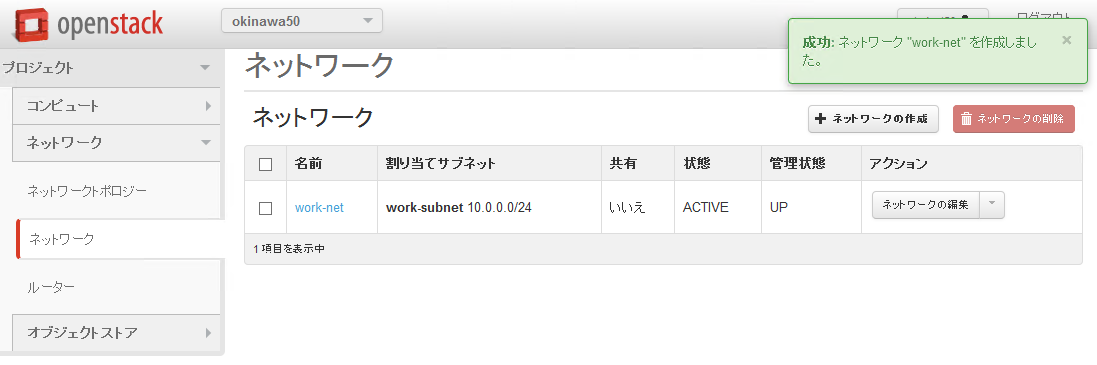
仮想ネットワークの作成
5 work-net が正常に作成された状態
Presenter Notes
仮想ネットワークの作成
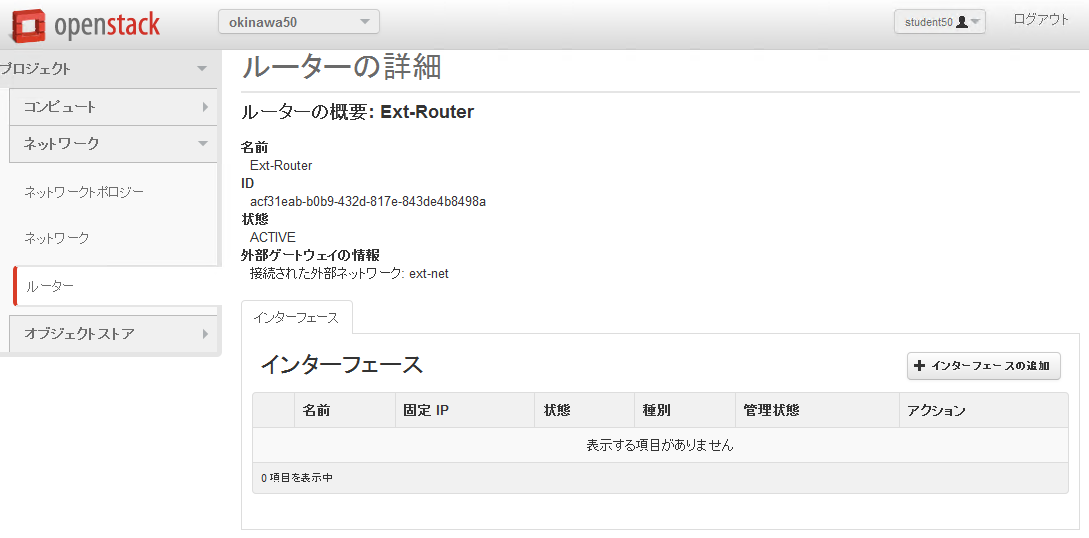
6 Ext-Router を選択(リンクをクリック)
Presenter Notes
仮想ネットワークの作成
7 「インターフェースの追加」を選択
Presenter Notes
仮想ネットワークの作成
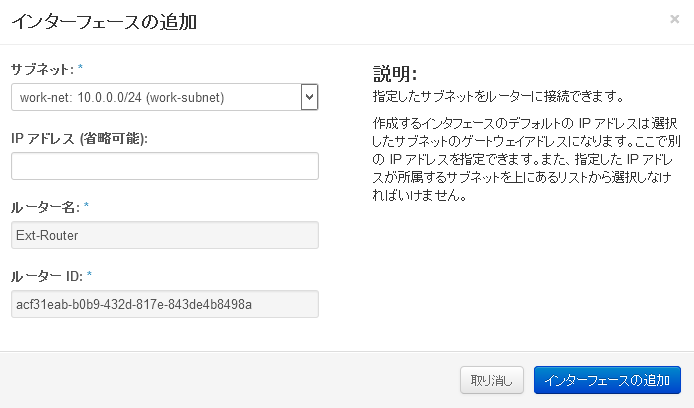
8 サムネット work-net 10.0.0.0/24 (work-subnet) を選択
Presenter Notes
仮想ネットワークの作成
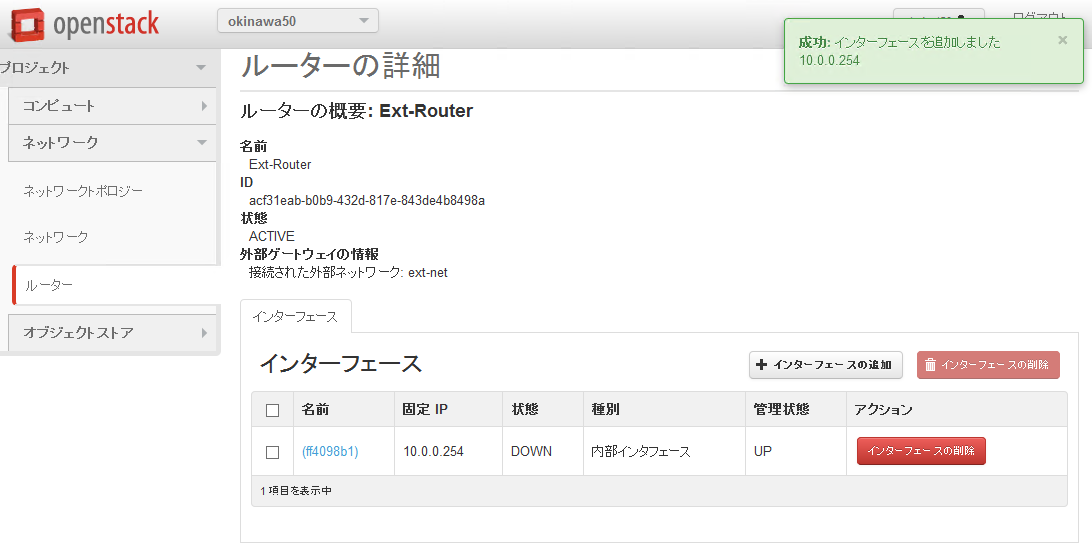
9 正常にインターフェースが追加された状態
Presenter Notes
仮想ネットワークの作成
10 ネットワーク作成後のトポロジー図
Presenter Notes
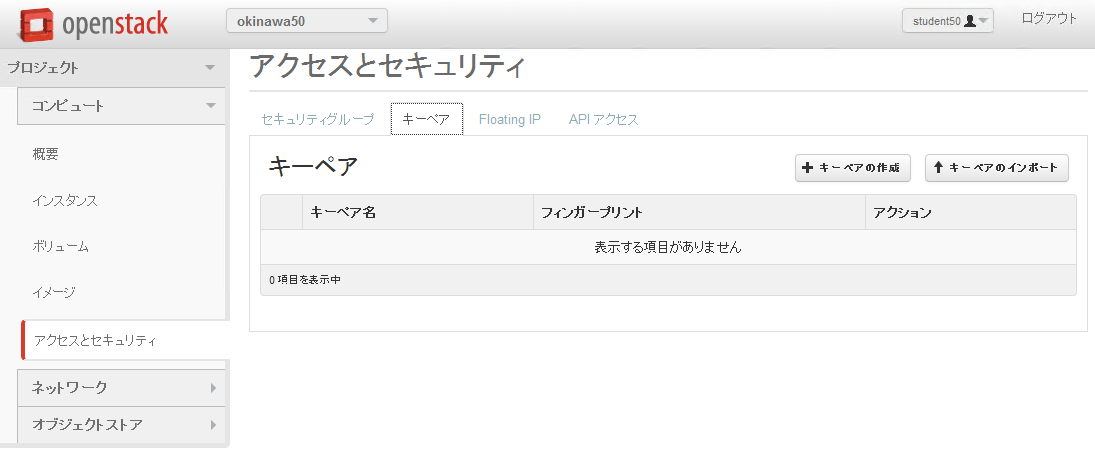
キーペアの作成
1 「キーペアの作成」を選択します。
Presenter Notes
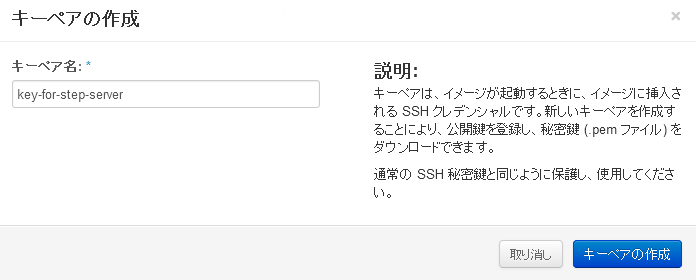
キーペアの作成
2 キーペア key-for-step-server を作成します。
Presenter Notes
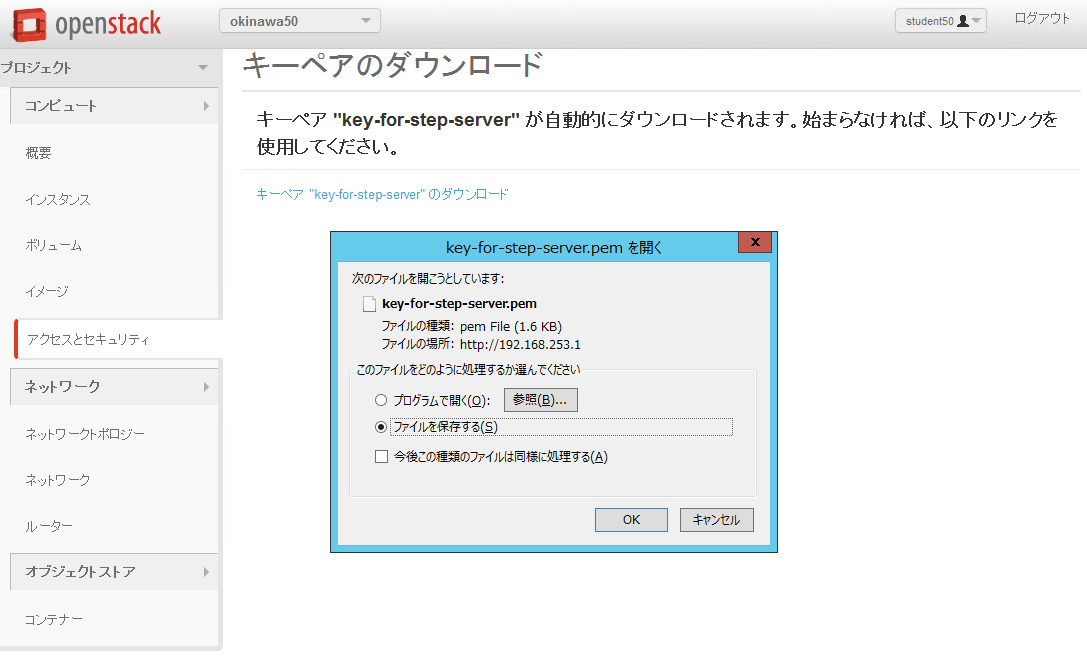
キーペアの作成
3 作成したキーペアのダウンロードが自動的に行われます。このファイルを再取得できないので、わかりやすい場所に保存し、なくさないようにしてください。
Presenter Notes
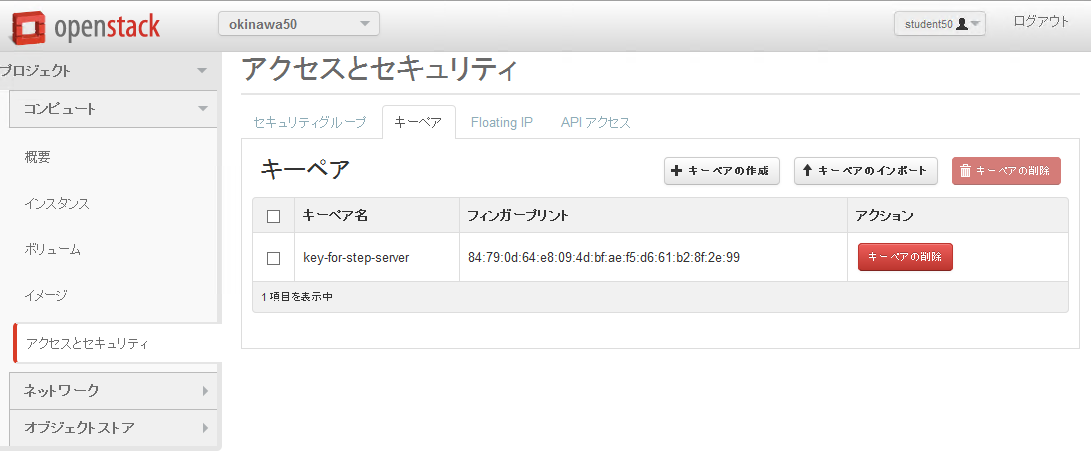
キーペアの作成
4 作成したキーペアの確認
Presenter Notes
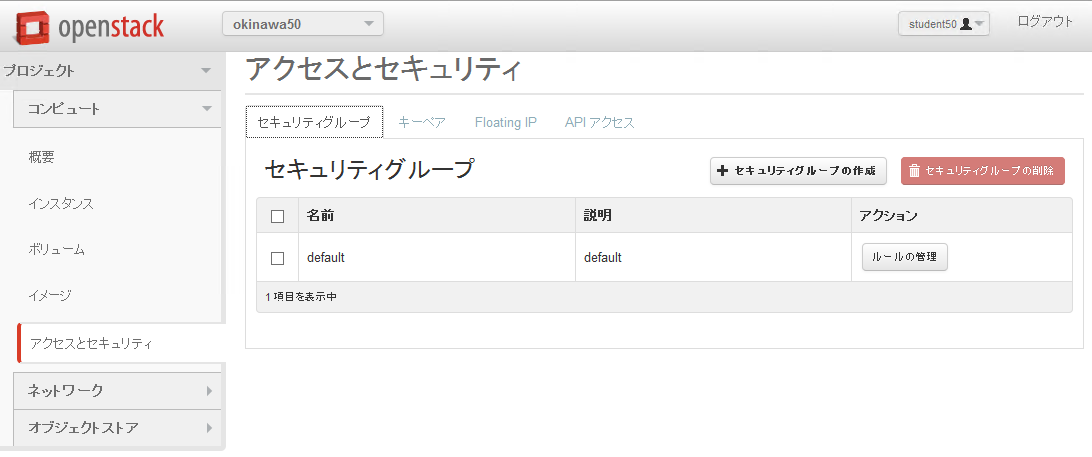
セキュリティグループの作成
1 「セキュリティグループの作成」を選択します。
Presenter Notes
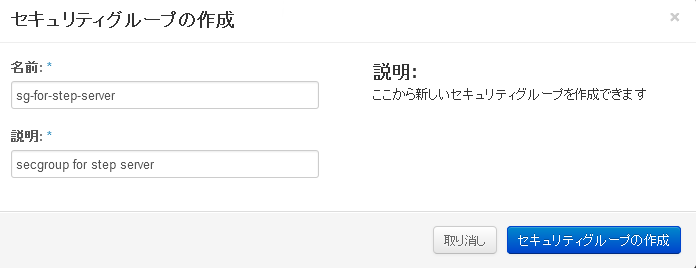
セキュリティグループの作成
2 セキュリティグループ sg-for-step-server を作成します。
Presenter Notes
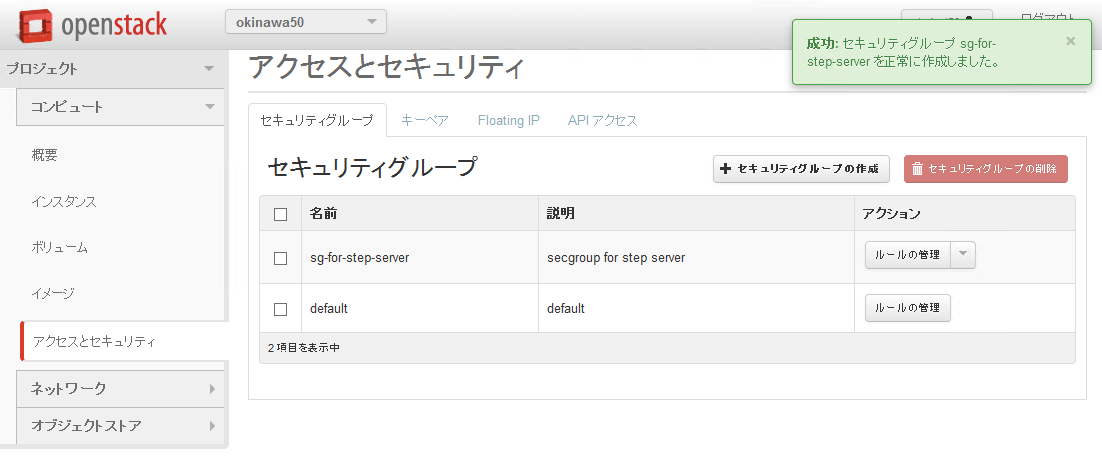
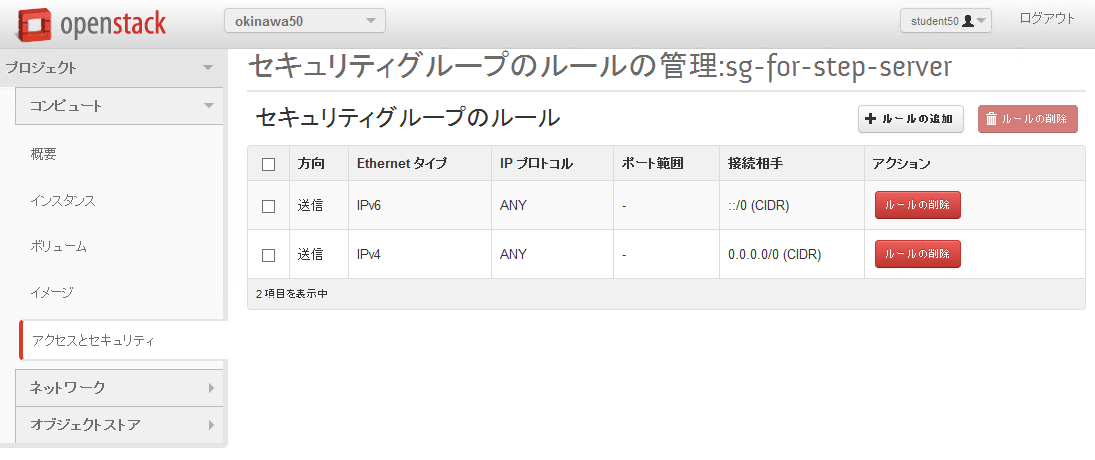
セキュリティグループの作成
3 セキュリティグループの作成に成功した状態。 sg-for-step-server 「ルールの編集」を選択します。
Presenter Notes
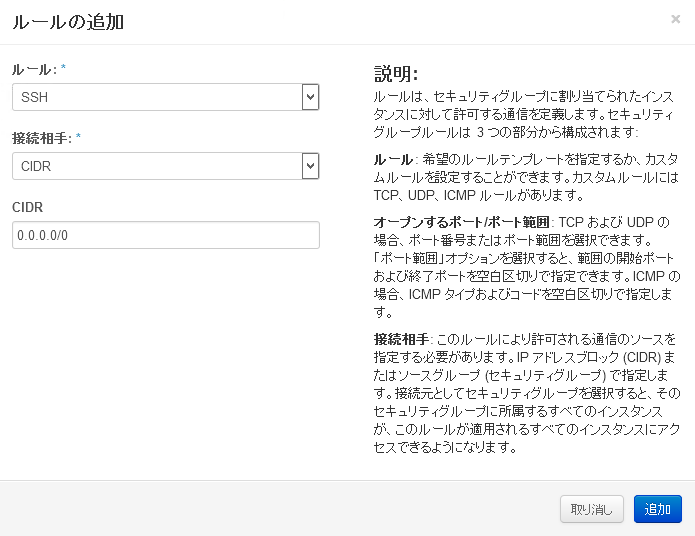
セキュリティグループの作成
4 「ルールの追加」を選択
Presenter Notes
セキュリティグループの作成
5 ルール: SSH CIDR 0.0.0.0/0 を追加します。
Presenter Notes
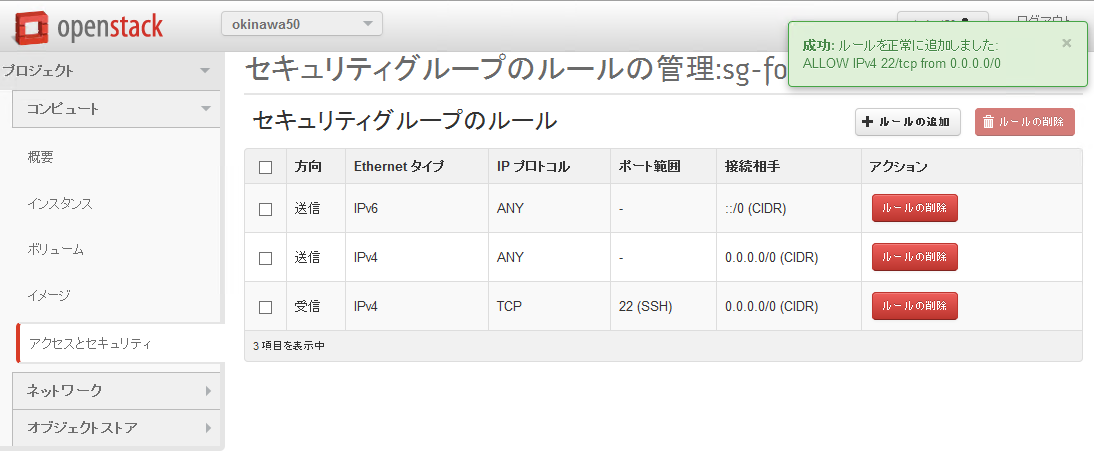
セキュリティグループの作成
6 ルールの追加に成功した状態。
Presenter Notes
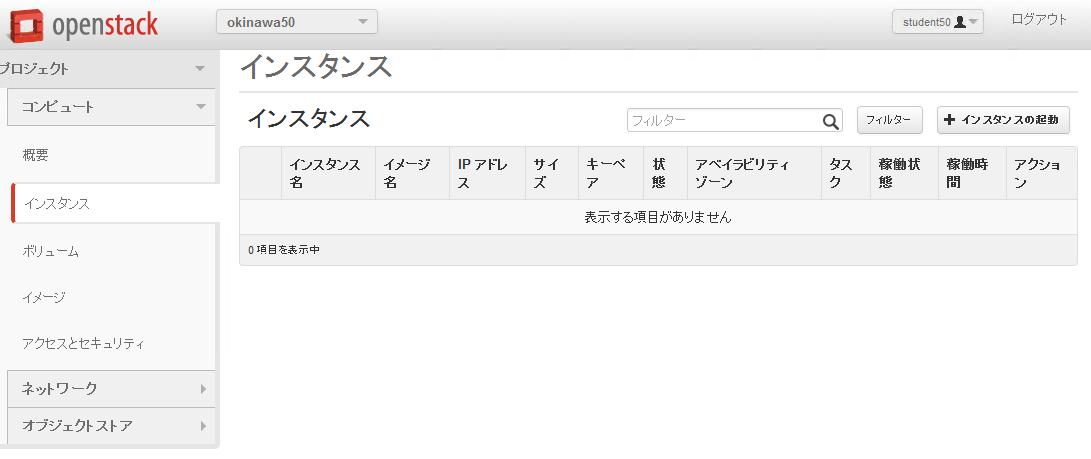
踏み台サーバーの起動
1 「インスタンスの起動」を選択します。
Presenter Notes
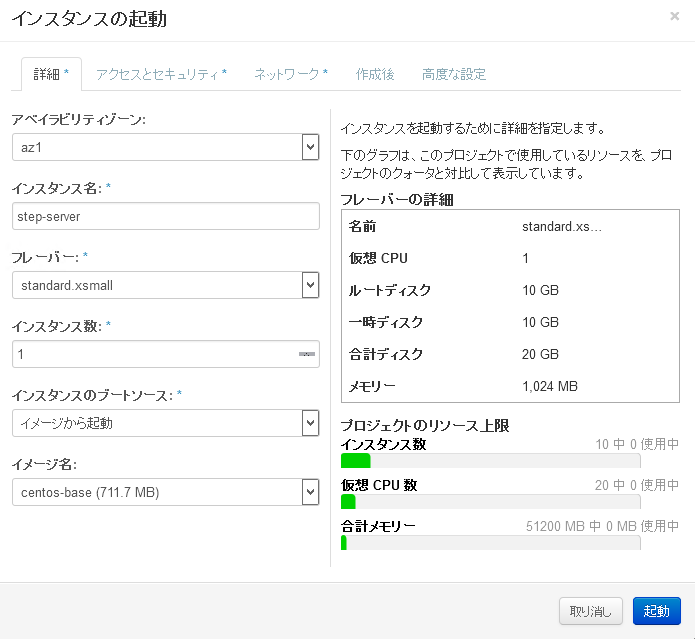
踏み台サーバーの起動
2 次項のパラメーターを入力
Presenter Notes
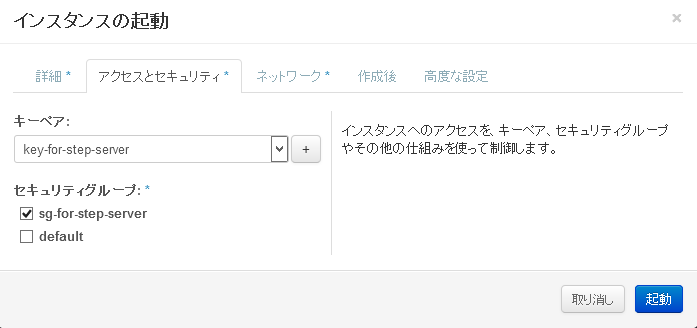
踏み台サーバーの起動
3 キーペア key-for-step-server セキュリティグループ: sg-for-step-server を選択
Presenter Notes
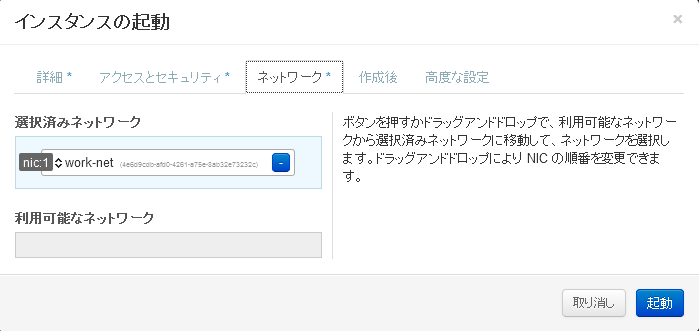
踏み台サーバーの起動
4 選択済みネットワークが work-net になっていることを確認。
Presenter Notes
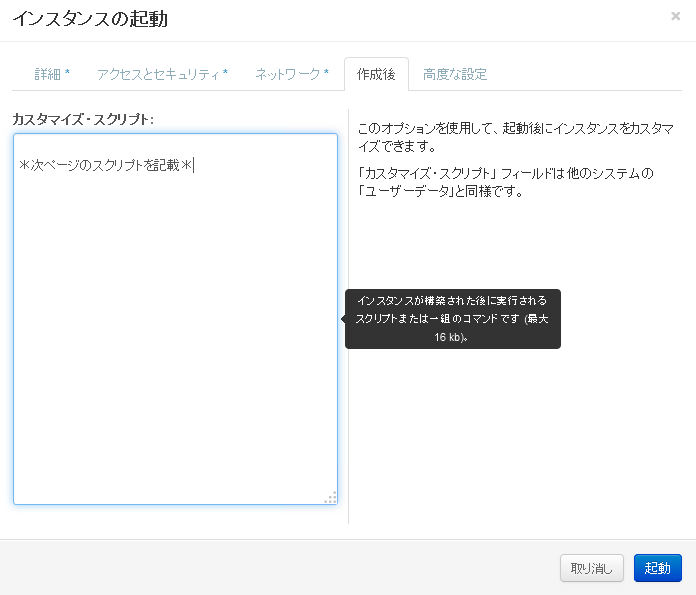
踏み台サーバーの起動
5 サーバー起動時に実行するスクリプトを入力。入力内容は次項を参照。
Presenter Notes
踏み台サーバーの起動
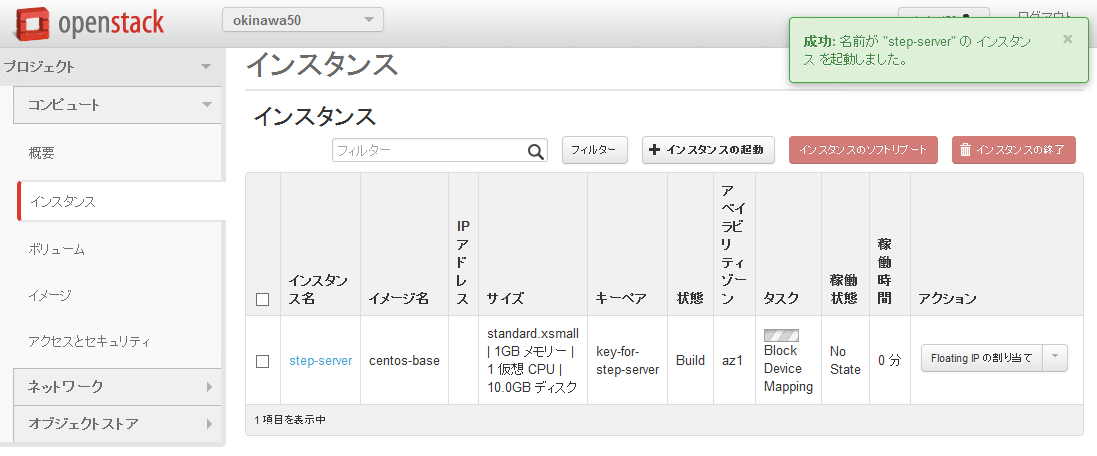
6 起動に成功した状態。
Presenter Notes
踏み台サーバーの起動
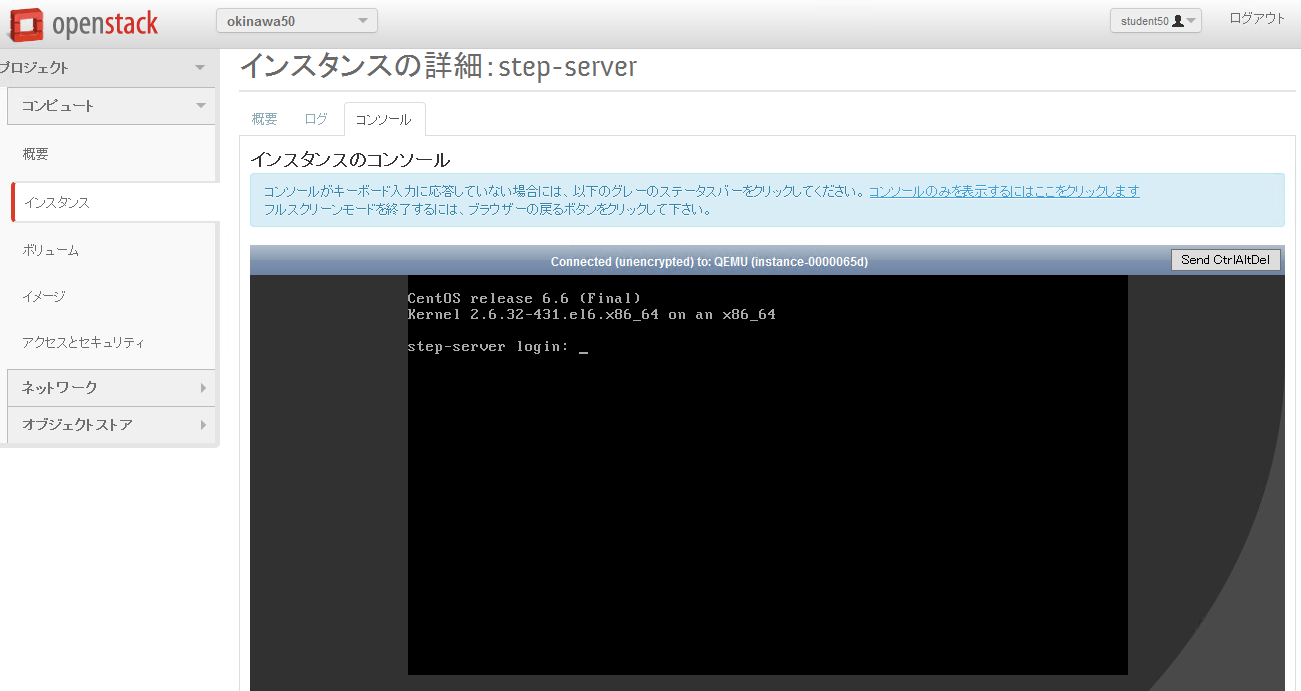
7 リンク step-server を選択すると、起動ログの確認、コンソールへの接続が行えます。
Presenter Notes
Floating IP の割り当て
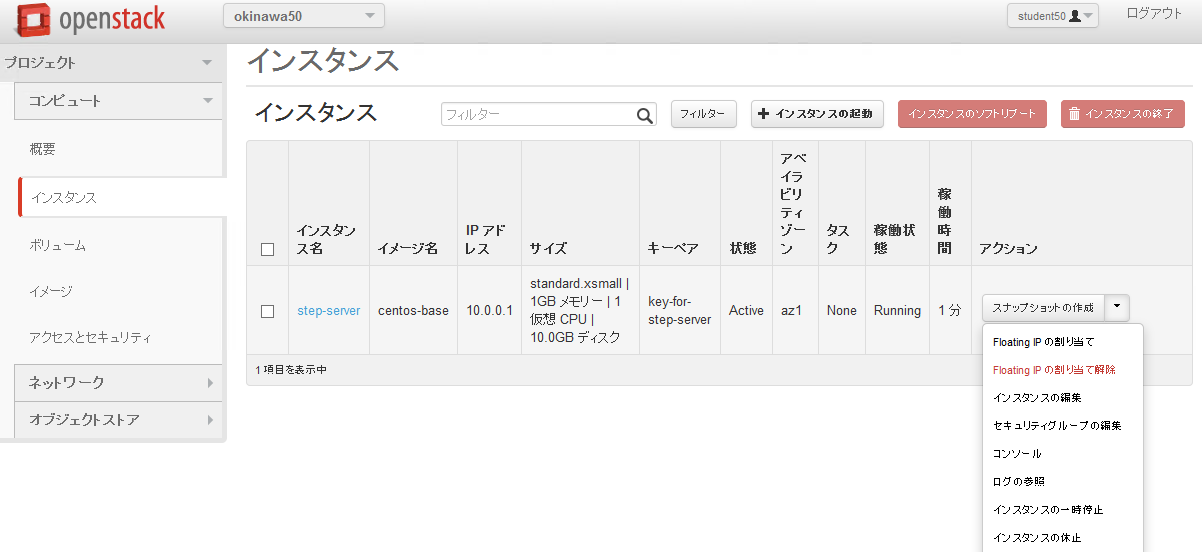
1 仮想サーバーのメニューから「Floating IPの割り当て」を選択します。
Presenter Notes
Floating IP の割り当て
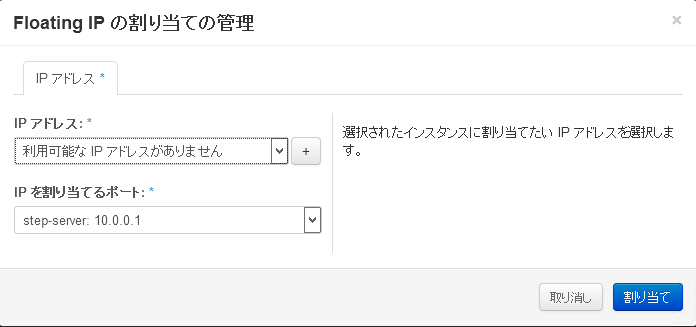
2 まずは、「+」ボタンを選択し、割り当てるFloating IPを、管理者が作成した、 Ext-Net から取得します。
Presenter Notes
Floating IP の割り当て
3 プール: Ext-Net からFloating IPを取得します。
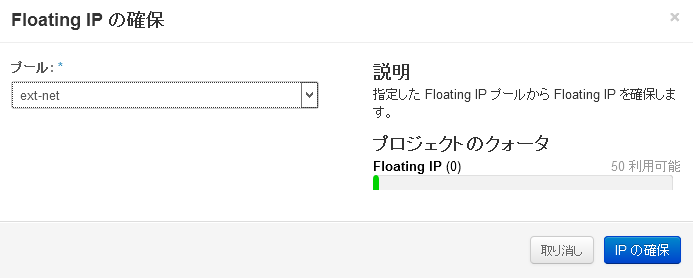
Presenter Notes
Floating IP の割り当て
4 確保されたIPアドレスを、 step-server へ割り当てます。
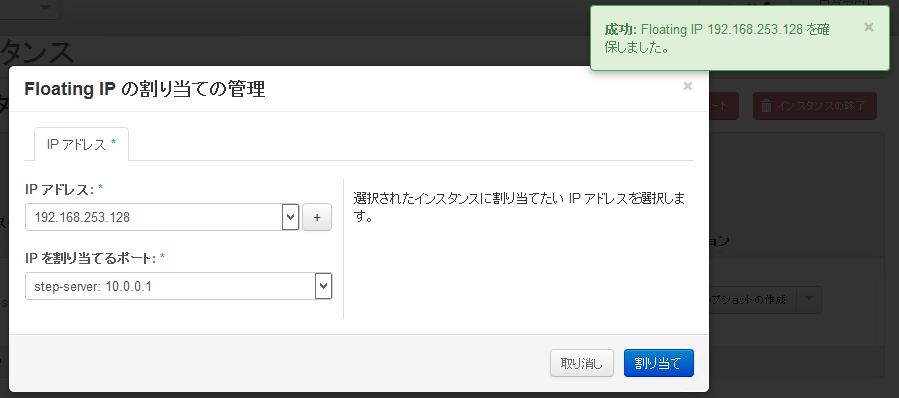
Presenter Notes
Floating IP の割り当て
5 正常に割り当てられた状態。
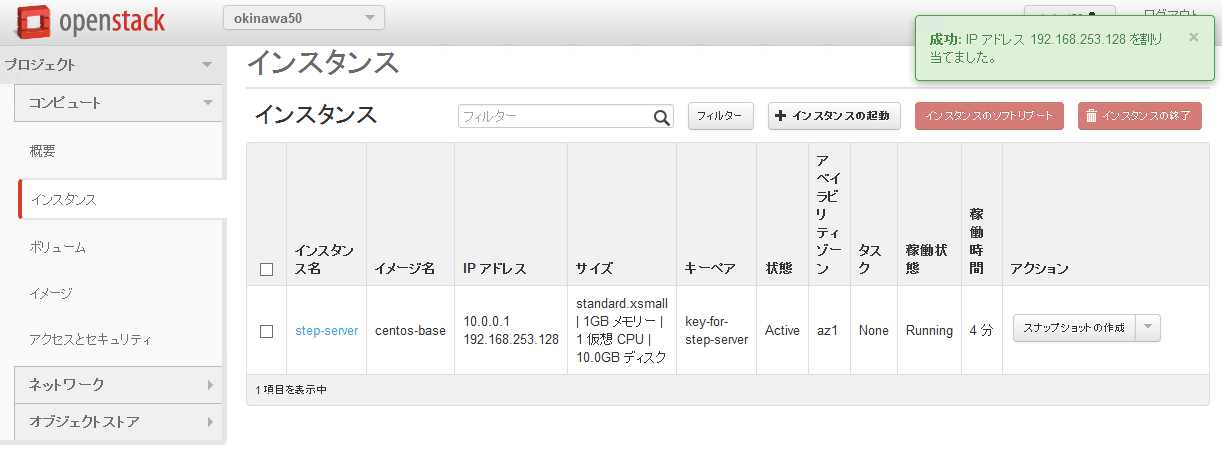
Presenter Notes
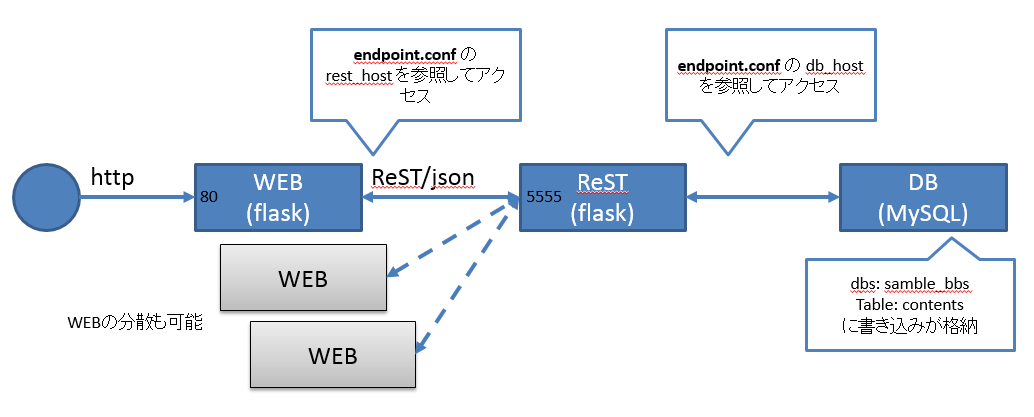
サービスの概要
- 踏み台サーバーからCLIを使って、サンプルアプリケーション環境を構築します。
- 以下のサンプルアプリケーションを用いて、OpenStack上にデモサービスを展開していきます。
Presenter Notes
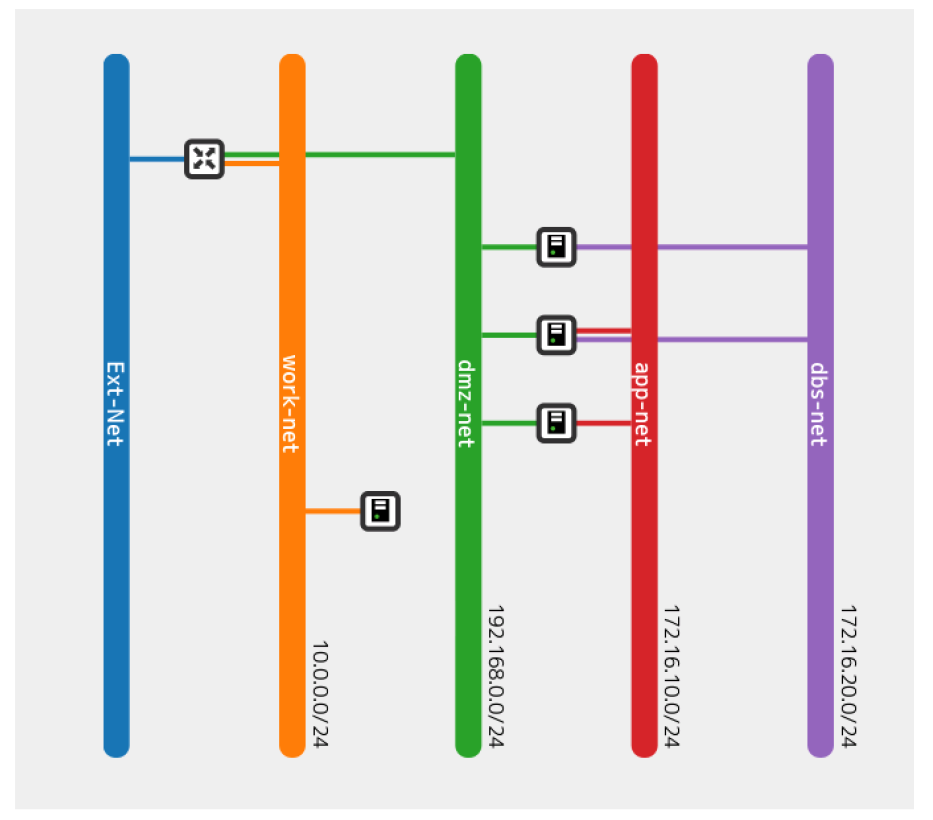
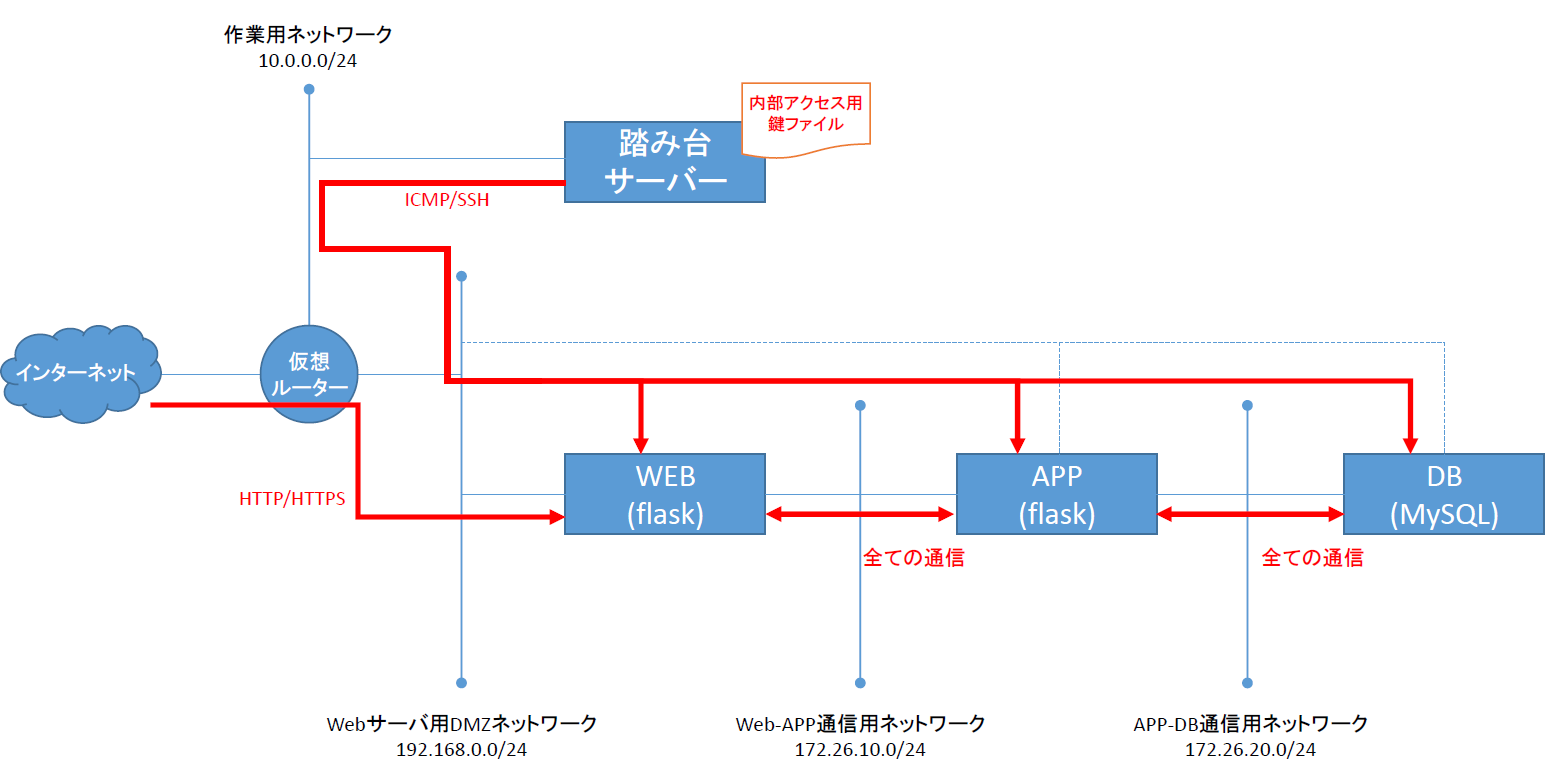
完成形のイメージ
- 作業が完了すると以下の状態になります。
Presenter Notes
ここまでの状態
- ここまでの作業が終わっていると、以下の状態になっているはずです。